Print a Whole Project *
Project can be printed, along with all the annotations, by:
- Choosing the “Print” option from the “File” menu.
- Setting print options, making sure that “Source” is set to “Print Whole Project”:

Print a Scenario *
To print the current scenario:
- Choose “Print” from the “File” menu.
- Set the “Source” option to “Print Current Scenario”:

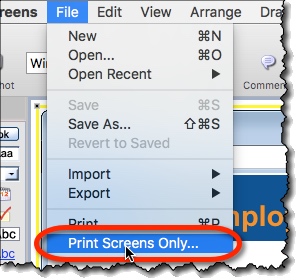
Screen-Only Printing for Greater Detail *
When you need to present your mockups in “hard copy”, to achieve greater detail print them in screen-only mode:
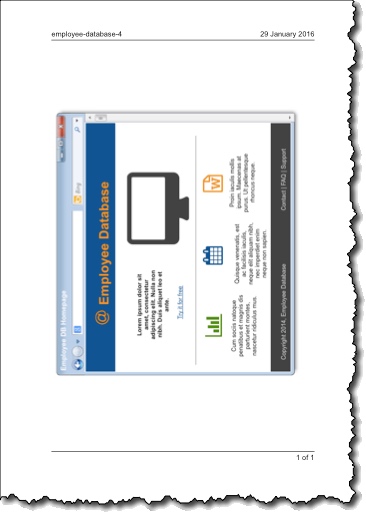
What you get is:
- A single screen per page
- Without headings or annotations
- Automatically oriented and resized to make the most of the space available.
- Screen won’t be larger than the original (100%):
Print Options and Settings *
Some options are set in MockupScreens printing settings, while other common options are set each time you invoke print command, via Print Options dialog.
Print Options Dialog *
- Title – Title displayed on the printed document.
- Cover Page – Whether or not to print cover page.
- Table of Contents – Whether or not to print table of contents.
- Source – What to print, ie., whole project, current scenario or current screen.

Print Settings *
- Icons and Comments – Whether or not to print comments. If comments are to be printed, they can be either printed below the screen, or embedded in the screen as callouts.
- Grid – Display grid on printed screens or not.
- Pages – Defaults for Print Options; these can be confirmed or altered when print command is invoked (via Print Options dialog).
